Table of Contents Show
Complete Do It Yourself Furnace Repair Guide for Homeowners
Ever wonder how a heating and air conditioning technician diagnoses basic problems in “no heat” or “no air conditioning” type service calls? Here is the complete do-it-yourself furnace repair guide so homeowners can become familiar with their furnaces and diagnose minor problems with their furnaces.
If you have owned a home for a couple years, you probably know a furnace always brings trouble during the worst times of the year. The first step to doing a do-it-yourself furnace repair is knowing when to expect problems with a furnace.
When to Expect Furnace Problems
There are two most likely periods throughout the year when a furnace likes to break down on its homeowner. The first time period is during the summer, especially in July and August, when temperatures outside seem to be the warmest of the year.
The second time period when a furnace likes to break down is during the winter months, such as December and January. Unfortunately, furnaces tend to break down the most on the coldest days of the year, leaving many homeowners without heat throughout those cold nights.
Once you have a furnace break down, there are four basic steps required to follow when first trying to diagnose and complete a do-it-yourself furnace repair.
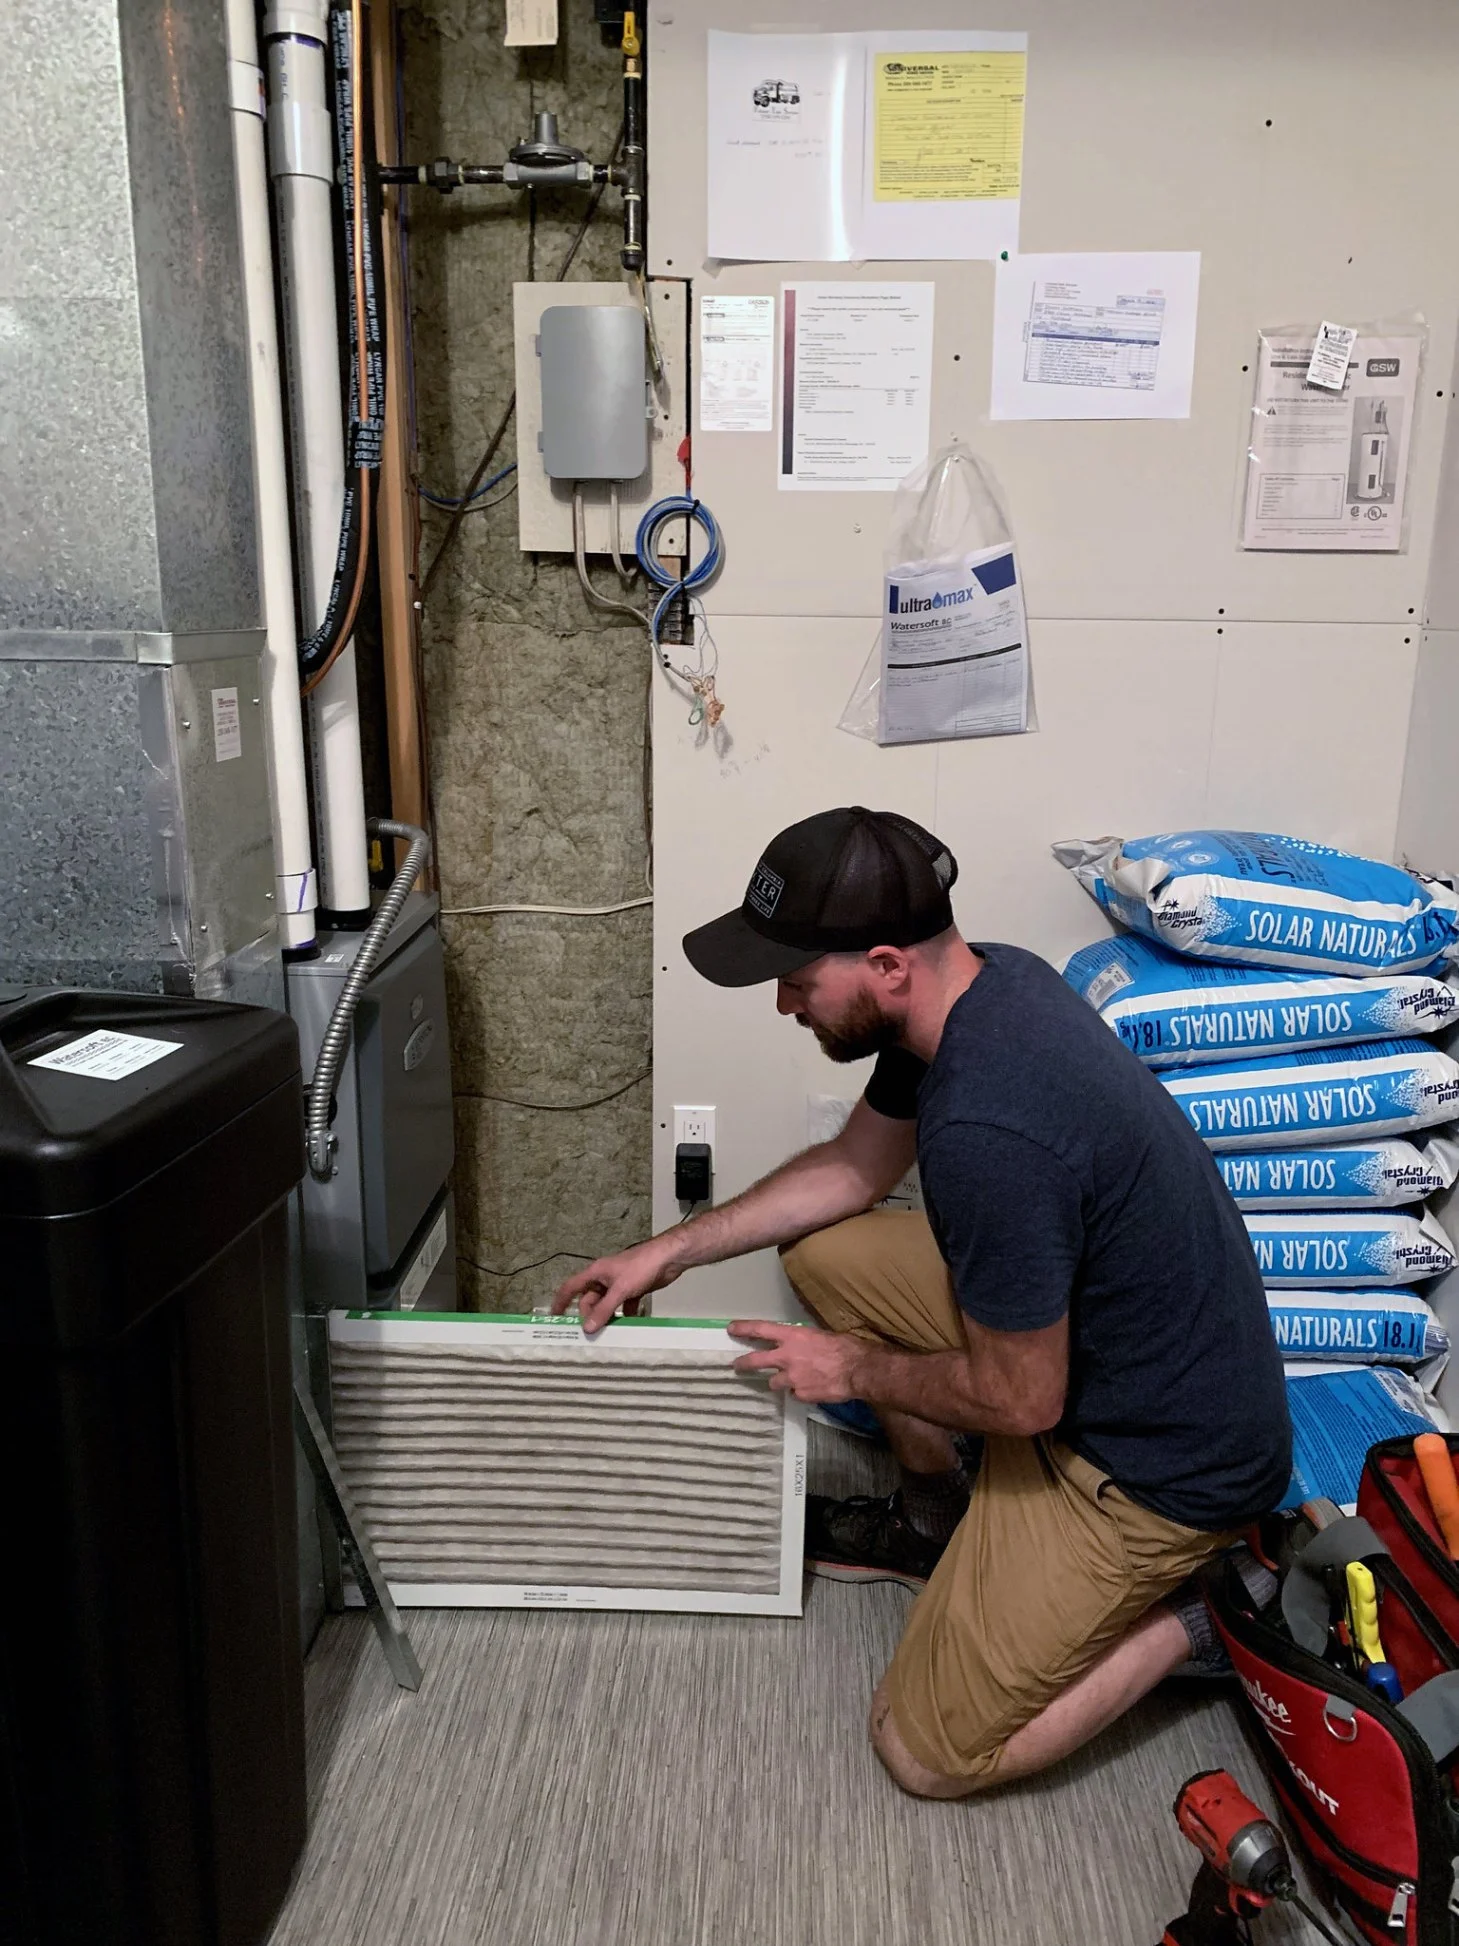
#1) Checking the Furnace Filter
One of the most common problems with furnaces either running inefficiently or even breaking down is the cause of a dirty filter.
Many homeowners forget to regularly change the filters in their furnaces, which can cause various problems; from not cooling or heating a house to the desired temperature; to the furnace having inefficient airflow, causing the furnace to overheat.
These problems can cause various pieces of the furnace to break down during the entire process, as well.
The time period between changing filters on furnaces varies, based on the specific filter used; however, the general rule is to change the furnace filter at least once every month, if not earlier.
Once the filter has been in the furnace for two to three weeks, it doesn’t hurt to check the filter earlier than a month. Having clean filters will actually help the furnace last longer and stay cleaner, throughout its lifetime.
#2) Checking the Furnace Duct Dampers
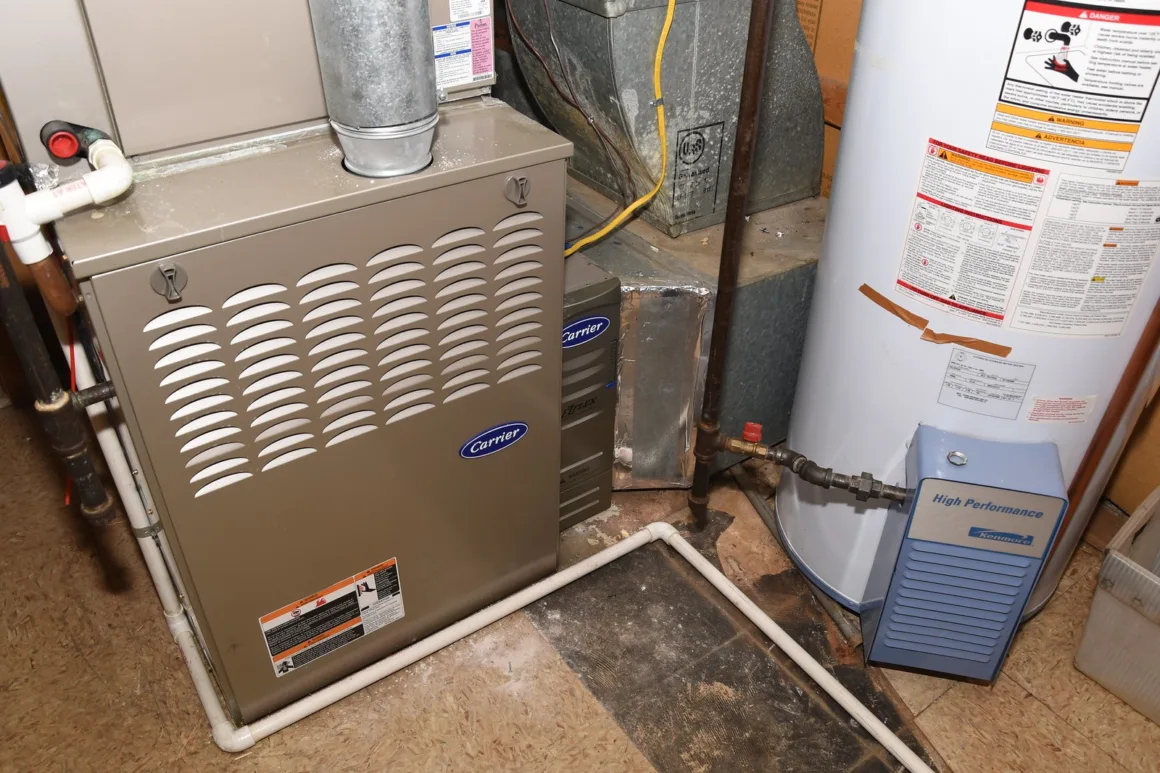
If the filter is clean and there still isn’t enough air flowing into the house and your furnace seems to be running well, the dampers on the ducts may be closed. The dampers are usually located on each individual duct running off the plenum of the furnace, which is used to control the amount of airflow being supplied to each room.
The dampers could have been altered by previous owners or could have even been slung shut by themselves. In order to know if the dampers are open, the wing-nut on the bottom of the duct has to be perfectly lined up parallel to, or running with, the duct.
If the wing-nut is perpendicular to, or crossing; the duct, the damper is closed and must be turned open, to increase the airflow to the desired sections of the house.
#3) Checking the Gas Valves
If it is during the winter and your furnace seems to be not working right or broken when you are trying to use the heat, the first step should always be to check if the gas valves are open. A gas valve will be open when the handle of the valve is parallel to or running with, the black gas pipe.
If you are trying to use the air conditioning and the furnace is not working right, do not turn the gas valve on, as it will apply gas pressure to valves inside the furnace and most-likely waste gas.
The furnace does not use gas to air condition a house, since the furnace’s only job when air conditioning a home is to use the blower motor to move return air through the furnace and pass through the coil on top of the furnace, as is explained in step #4.
#4) Checking the Line-set and Drain Hoses
The final basic problem that happens to furnaces and can be done by homeowners, as a do-it-yourself furnace repair project, is when the homeowner is trying to cool the home and the air conditioning goes out.
Begin by checking the line set for ice or water; which is the insulated, copper pipe running into the coil mounted in the plenum, located on top of the furnace.
If there is ice built up or water, there could be one of two problems. The first problem is the coil may be frozen. This is caused by inefficient airflow going through the furnace, which can usually be fixed by using steps #1 and #2 of this do-it-yourself furnace repair guide.
If those two steps do not help your specific furnace problem, the problem may be a result of a more serious problem, and professional help is recommended.
If there is only water around the line set, the next step should be to check the drain hose. And if the drain hose for the furnace is clogged, there may be a buildup of water underneath the coil, which could result in more problems with the coil; or electrical problems inside the furnace if water gets into the furnace.
This may result in the need to install a new furnace for the home.
To clear a drain hose from being clogged and complete a do-it-yourself furnace repair, simply try blowing through the hose. If the hose remains clogged, use any form of drain cleaner or even hot, soapy water to flush the clog out of the drain hose.
The Final Do It Yourself Furnace Repair Note
As a final note, if the situation seems serious, never second guess calling an emergency heating and air conditioning service, as minor problems can often lead to more severe problems; resulting in more expensive furnace repair bills.


